Scott's Atlas / Craftsman 101.07403 12x36" Lathe, modifications and projects. Stone Mountain, GA Unique Visitors:

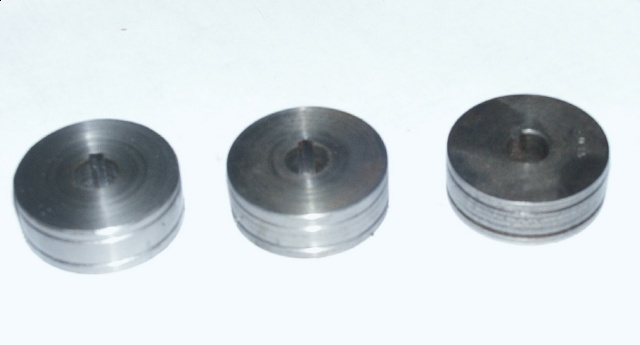
Here are three wire feed rollers. The right one came with the Airco and has grooves for 0.035 (0.9mm) and 0.045 (1.2mm) wire. I use a lot of 0.030 and 0.025 (0.8 and 0.6mm) so I needed more rollers. They have long been unavailable.

The middle one was made on my 109 lathe using mild steel. The woodruff key slot was made with a jig saw; crude but it worked. I had used a 90-degree V-tool to cut the grooves. That worked, but did not grip well.

I have also made one for a Clarke welder as to not have one with a knurled groove (better for aluminum).

The left one is described below.

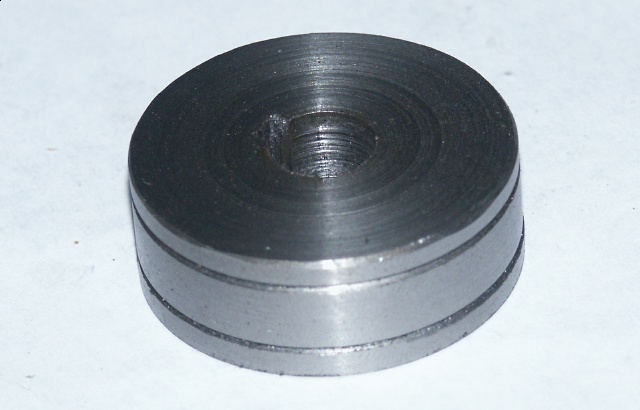
Here is a closeup of the left one. It was made out of 1 3/8" stainless steel. The steps to make it are as follows:

  1. Use a 4-jaw chuck and center as best as possible.
  2. Do a very light pass to true the steel if needed. I only had the exact size available, larger turned down to size would be better (and can be done on a 3-jaw chuck.)
  3. Center bore for hole size. I bored it 5/16" then used a very small boring bar to bring out to 3/8".
  4. Use a face cut to true up end.
  5. Position 60-degree V cutter for grooves (threading tool will work.)
  6. Advance cutter until it just touches the work. Then turn inward the diameter of the wire. It turns out, on a 60 degree V, cutting the depth of the wire will make a groove that about 1/3 the wire will sit above the groove.
  7. Use a parting tool and cut to width.

If your V-tool does not come to a complete point, you will have to do less of a cut. Start with 2/3 of the wire size and put a wire in the groove to test fit.

This roller works perfectly. Using the 60-degrees makes the V-groove and the pinch roller form a perfect triangle so pressure is even on all sides.

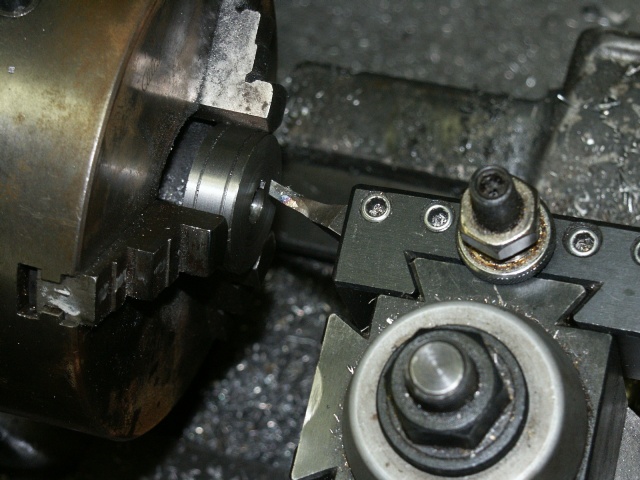
 Here is a closeup of cutting the woodruff key. It is easiest to do it on the back side of the hole as you can use the cross slide to advance for each pass. Here is the steps:

  1. Remount the roller in the chuck and lock the spindle.
  2. I used a 1/4" HSS tool bit cut as a 1/16" parting tool. Mount in in an adjustable tool mount pointing toward the end of the roller. If needed grind a steep relief angle in the tool.. Also, angle the tool a bit toward the slot; that will provide a relief angle on the front and back edges. This tool was set steeper than I wanted but it was manually ground and got a bit wider on the top edge. It should be a few degrees from parallel with the slot.
  3. Adjust the tool so one edge is even where one side of the slot will be cut (the slot is wider than the tool.)
  4. Slowly move tool through hole. On each pass advance the cross slide about 1-2 thousandths. This will take many passes and I repeated some if it felt rough. When the desired depth is cut, move tool back out and lower or raise it to match the other side of the slot.
  5. Repeat advancing cutter as before until the desired depth is reached.
  6. Reset the cutter to the middle if needed to remove the center.

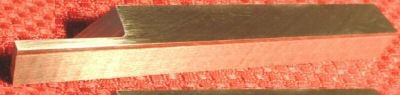
The parting tools are available. Look for a 1/4" square tool that has the end ground for parting. Usually they are ground on one side to leave 1/16" remaining a picture of a unsharpened blank is shown below:

A broaching tool can be used or made, but this is a cheap solution that works surprisingly well.